May 24, 2026 openbeken tuya smart-plug bk7231n bl0937 iot
Executive Summary
I wanted to control a Xenonsmart X7010 WiFi smart plug from the Linux command line with curl, without the Tuya / Smart Life app or cloud.
| Module | Tuya CB2S (Beken BK7231N, 2 MiB flash) |
| Metering | BL0937 energy chip |
| Method | UART flash OpenBeken QIO 1.18.287 with ltchiptool |
| CloudCutter | Failed (profile exploit did not stick) |
| Result | Local HTTP API, relay, button, WiFi LED, power readings |
| Repo | github.com/stulluk/xenonsmart-wifi-plug-openbeken |
One-liner control:
curl "http://192.168.1.205/cm?cmnd=Power%20Toggle"
TL;DR
- Do not use
OpenBK7231N_UG_*.binfor the first UART flash — it writes to OTA staging (0x132000) and the stock Tuya bootloader will not boot it. - Use
OpenBK7231N_QIO_*.bin— writes the app to0x011000. - Use external 3.3V during flash and WiFi bring-up; USB-UART 3.3V is too weak (~50 mA).
- GPIO map comes from
strings backup/param*.bin, not from a random CloudCutter profile. - BL0937 pin roles have no underscores:
BL0937CF,BL0937CF1,BL0937SEL(wrong names silently break the relay).
The plug
Xenonsmart WiFi plug, FCC ID 2AJ5F-SM-PW701U. Inside: CB2S module, single relay, physical button, red WiFi LED above the button.
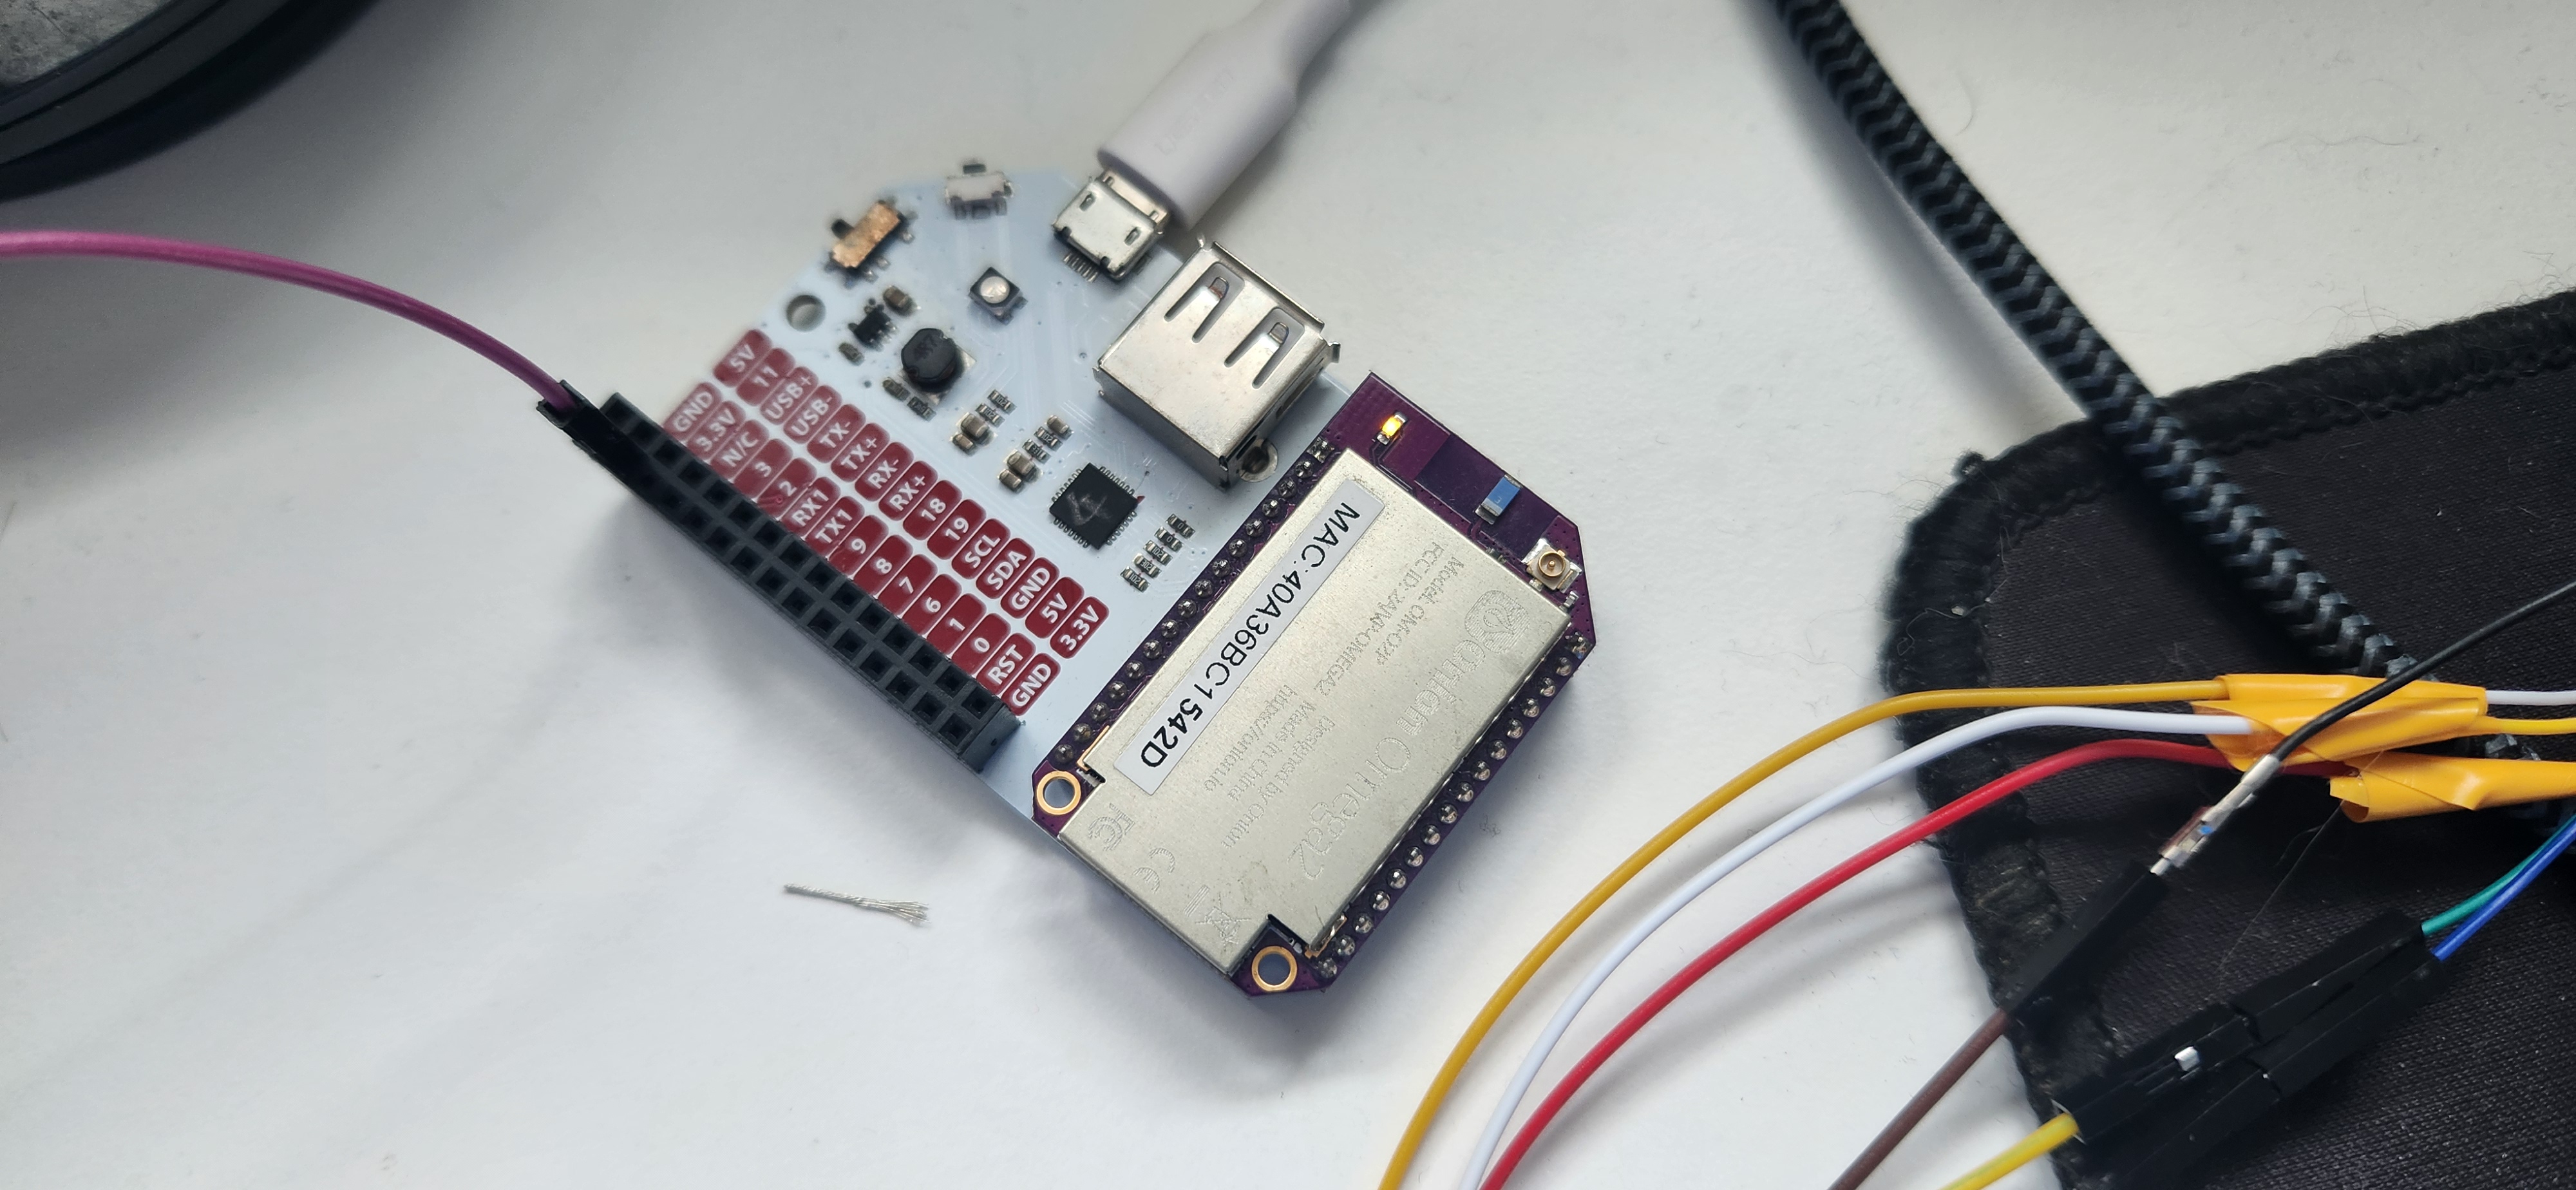
PCB and UART wiring
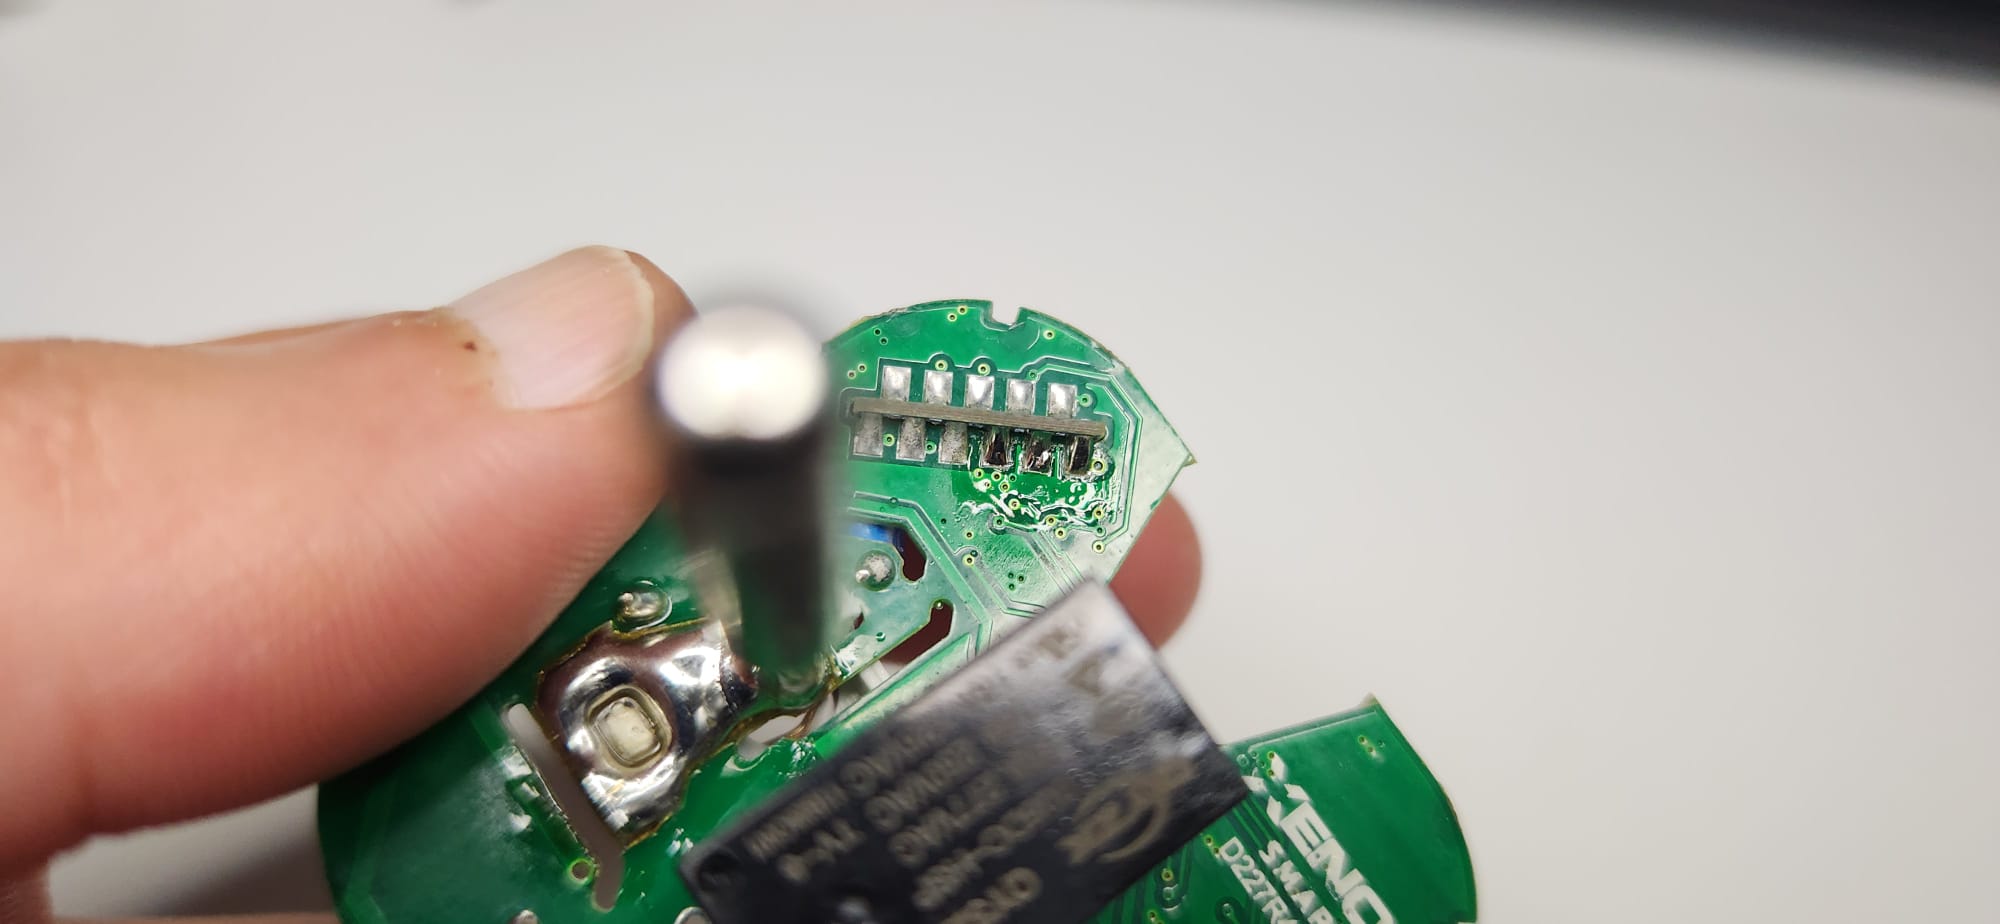
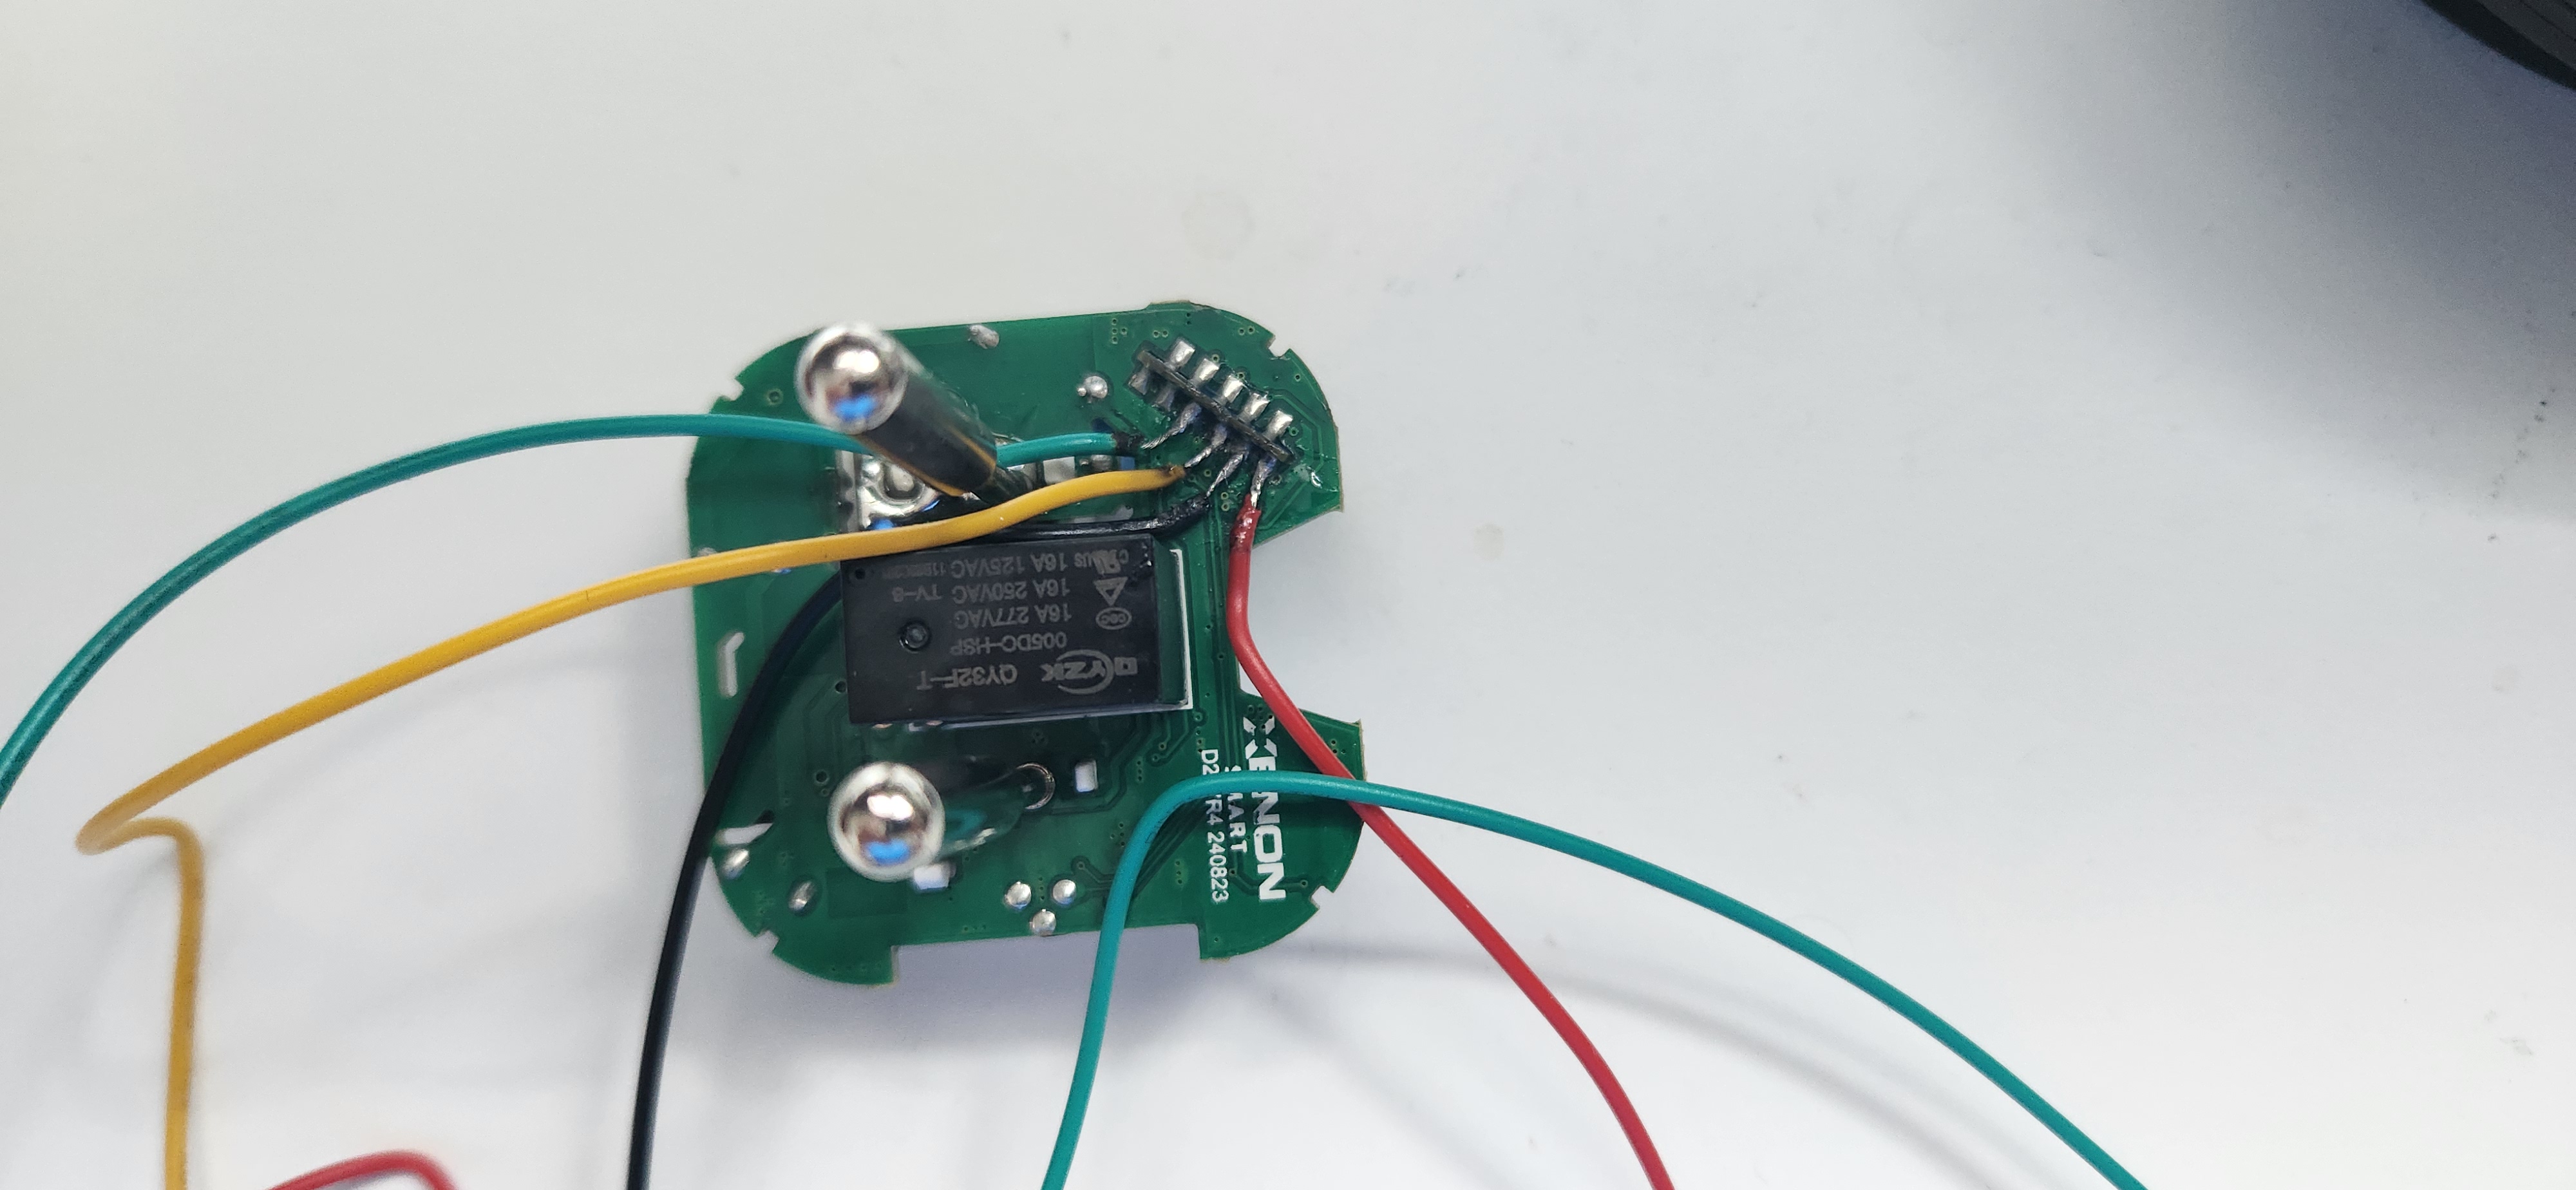
Four wires to the CB2S module are enough for flashing:
| CB2S | USB-UART |
|---|---|
| VCC | 3.3V (external supply) |
| GND | GND |
| P11 (TX1) | RX |
| P10 (RX1) | TX |
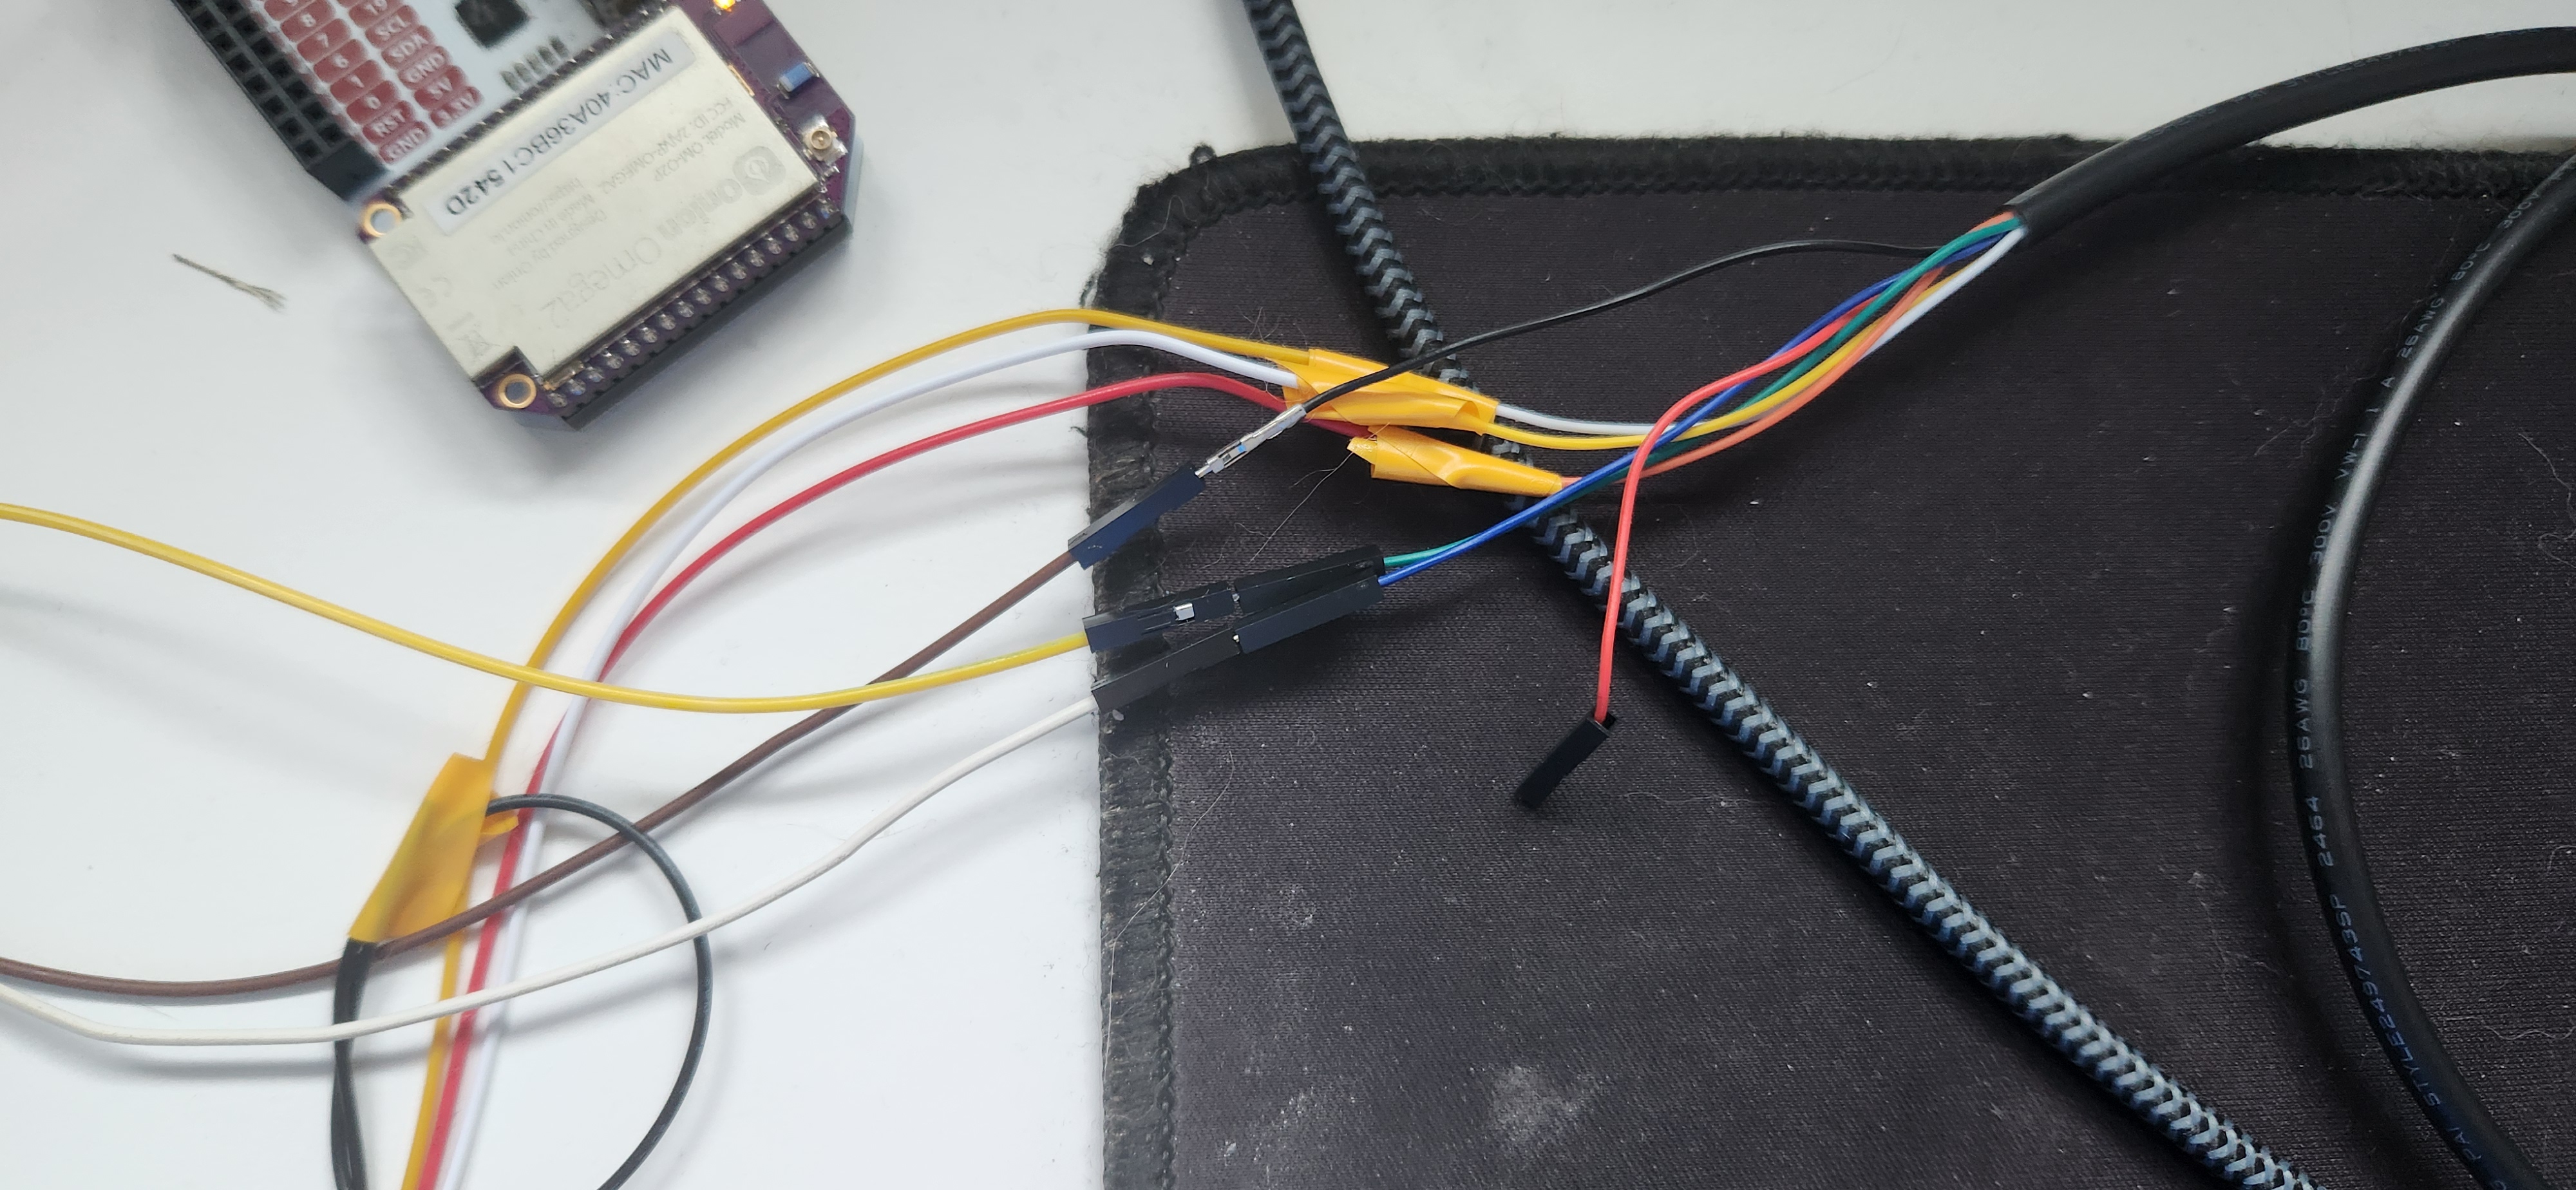
External 3.3V — why it matters
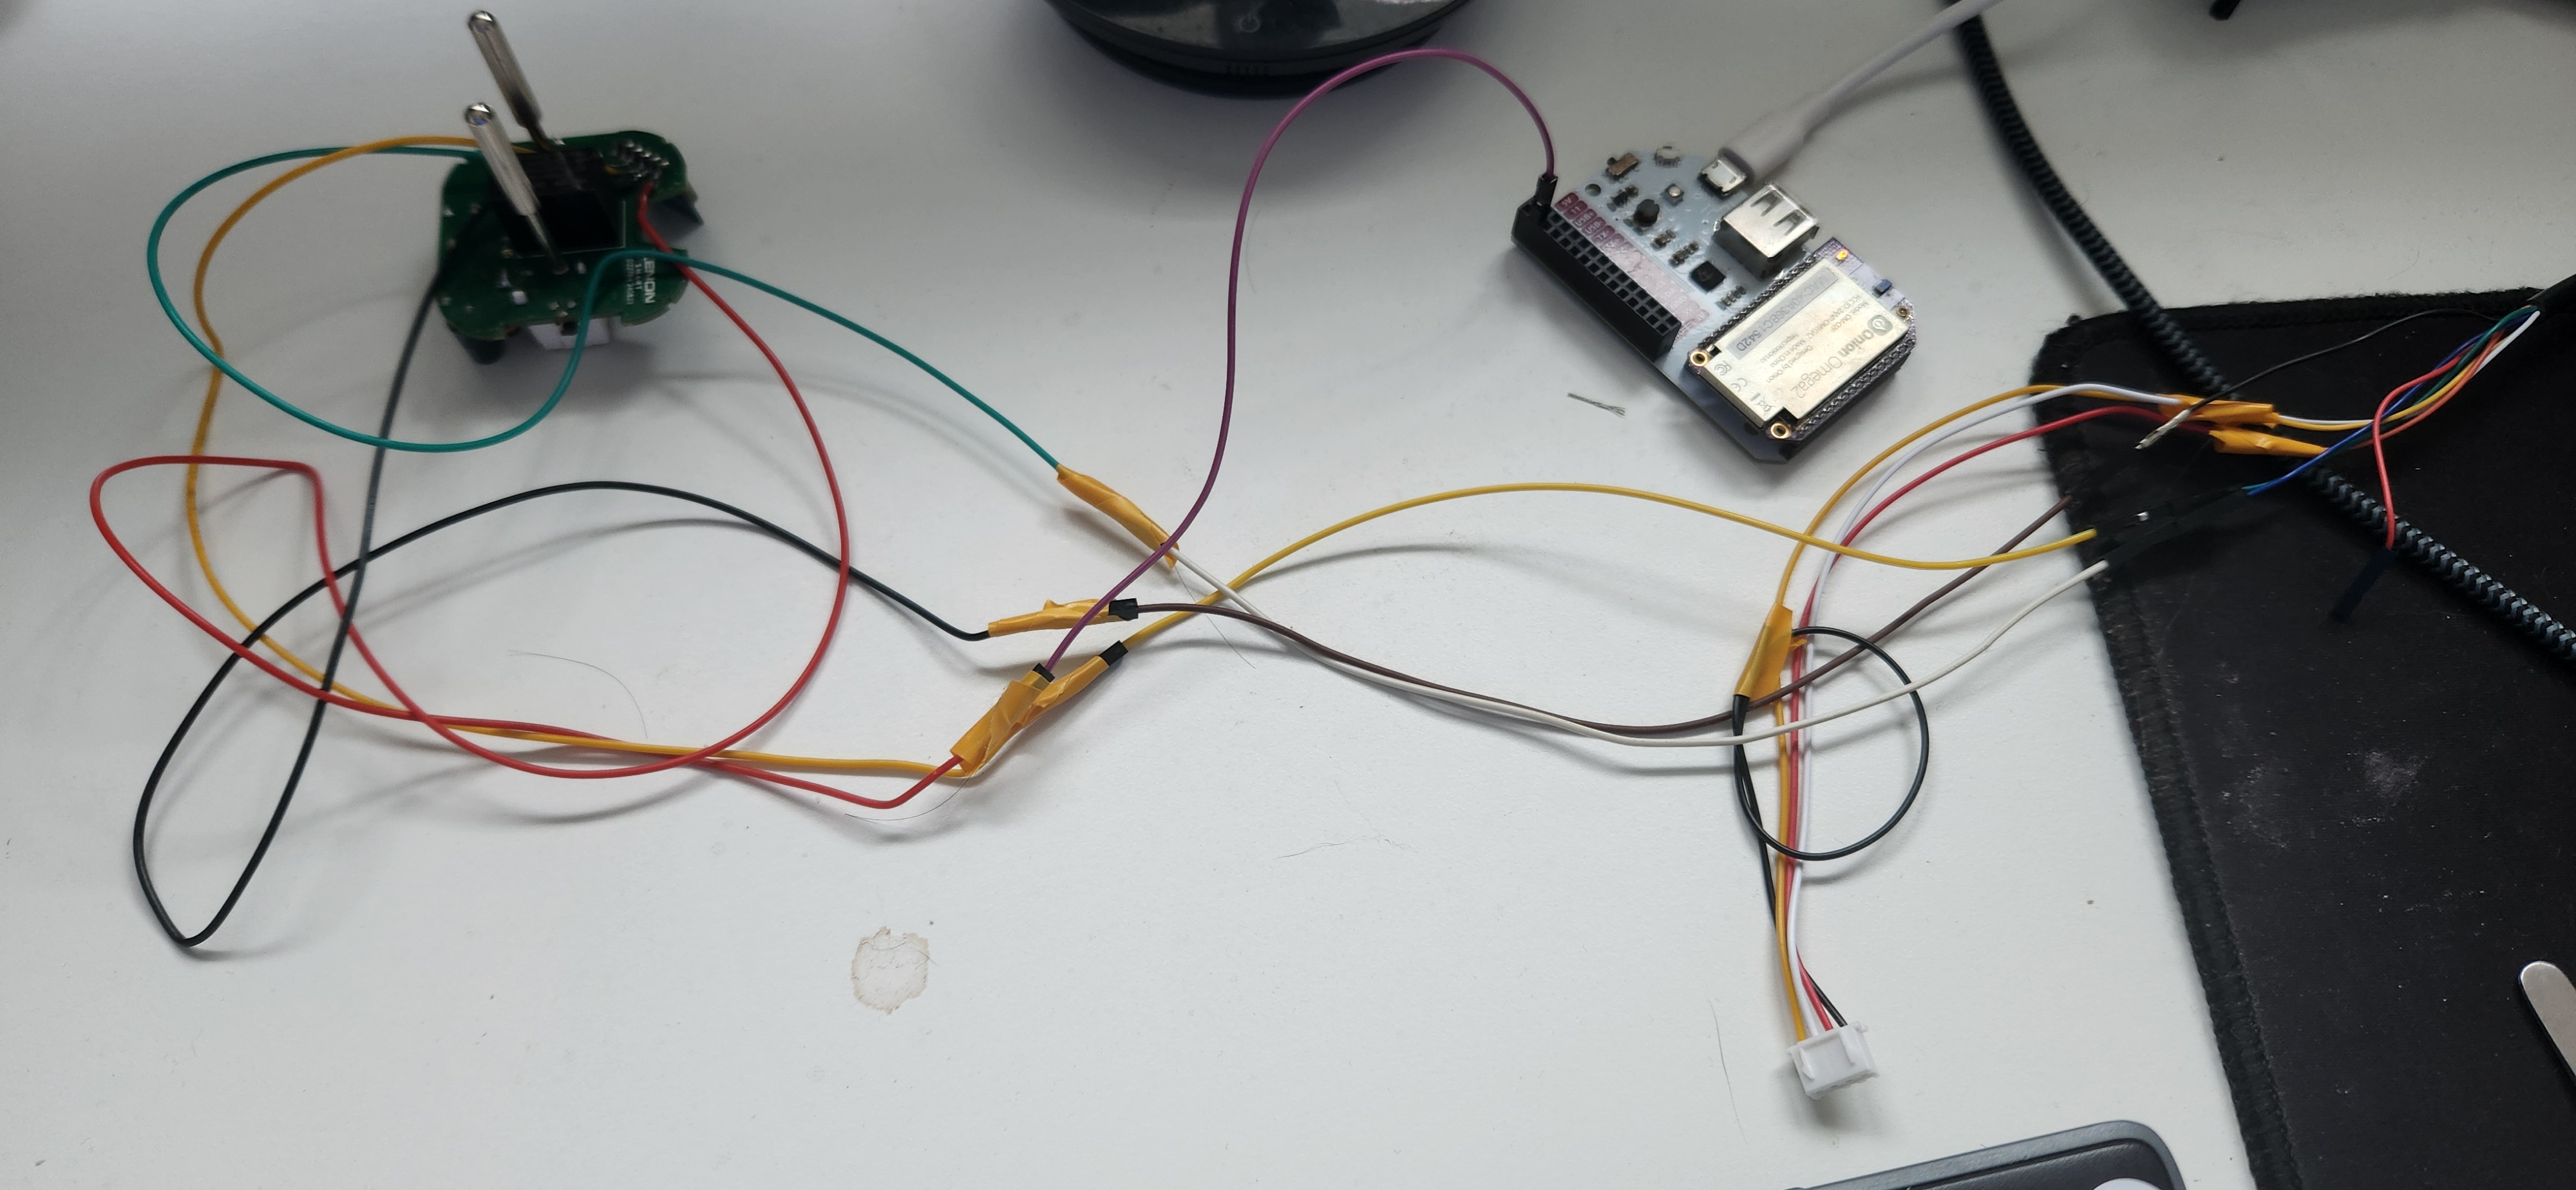
With only the FT232R 3.3V pin, flash could succeed but OpenBeken WiFi AP never appeared. After switching to external 3.3V (here via an Onion Omega2 dock as a regulated supply), WiFi boot was stable.
Flash workflow
python3 -m venv .venv && . .venv/bin/activate && pip install ltchiptool

# Backup first (especially factory RF cal at 0x1F0000)
ltchiptool flash read -d /dev/ttyUSB6 -s 0x1F0000 -l 0x10000 bk72xx factory.bin

# Flash QIO (not UG!)
ltchiptool flash write -d /dev/ttyUSB6 -t 60 OpenBK7231N_QIO_1.18.287.bin
After reboot: connect phone to OpenBK7231N_<mac> AP → 192.168.4.1 → configure home WiFi.
GPIO (from Tuya param backup)
CloudCutter profile xenon-sm-pw801-u2-wall-outlet had wrong pins (2-channel outlet). Real config from backup/param_0x1D0000.bin:
| Function | Pin | OpenBeken role |
|---|---|---|
| Relay | P7 | Rel ch1 |
| Button | P23 | Btn ch1 |
| WiFi LED | P24 | WifiLED_n |
| BL0937 CF | P8 | BL0937CF |
| BL0937 CF1 | P6 | BL0937CF1 |
| BL0937 SEL | P26 | BL0937SEL |
Power metering validation
Calibrated with a 9W LED bulb (VoltageSet 230, PowerSet 9, CurrentSet 0.04), then tested:
| Load | Label / expected | OpenBeken reading |
|---|---|---|
| LED bulb | 9 W | 10–12 W |
| LED bulb | 7 W | 8–10 W |
| Philips kettle | 1850–2200 W | ~2050 W |
| Xiaomi 32" Android TV | — | 30–35 W |
Kettle (resistive) was spot-on. Low-power LED labels are within ~1–2 W. SMPS loads (TV, soldering station) are fine for monitoring but poor for calibration.
curl -s "http://192.168.1.205/cm?cmnd=Status%208" | python3 -m json.tool
What failed along the way
- Tuya CloudCutter — exploit step sometimes saved config, final flash never succeeded.
OpenBK7231N_UGUART write — verified byte-perfect on chip, but device would not boot OpenBeken (wrong flash slot).- USB-UART 3.3V only — no WiFi AP after QIO flash.
BL0937_CFrole names (with underscore) — driver fell back to defaults and hijacked relay pin P7 → relay stuck ON until reboot.
Project closure
Goals met: cloud-free control, physical button, relay, LED behaviour, energy metering, full docs + photos + backups on GitHub.
Optional next steps: MQTT/Home Assistant, static DHCP for MAC FC:67:1F:F6:62:41, re-calibrate with an incandescent bulb for best accuracy.
Full write-up (Turkish + HTML): xenonsmart-wifi-plug-openbeken